How to Fix Keys That Stop Working After a Hot-Swap
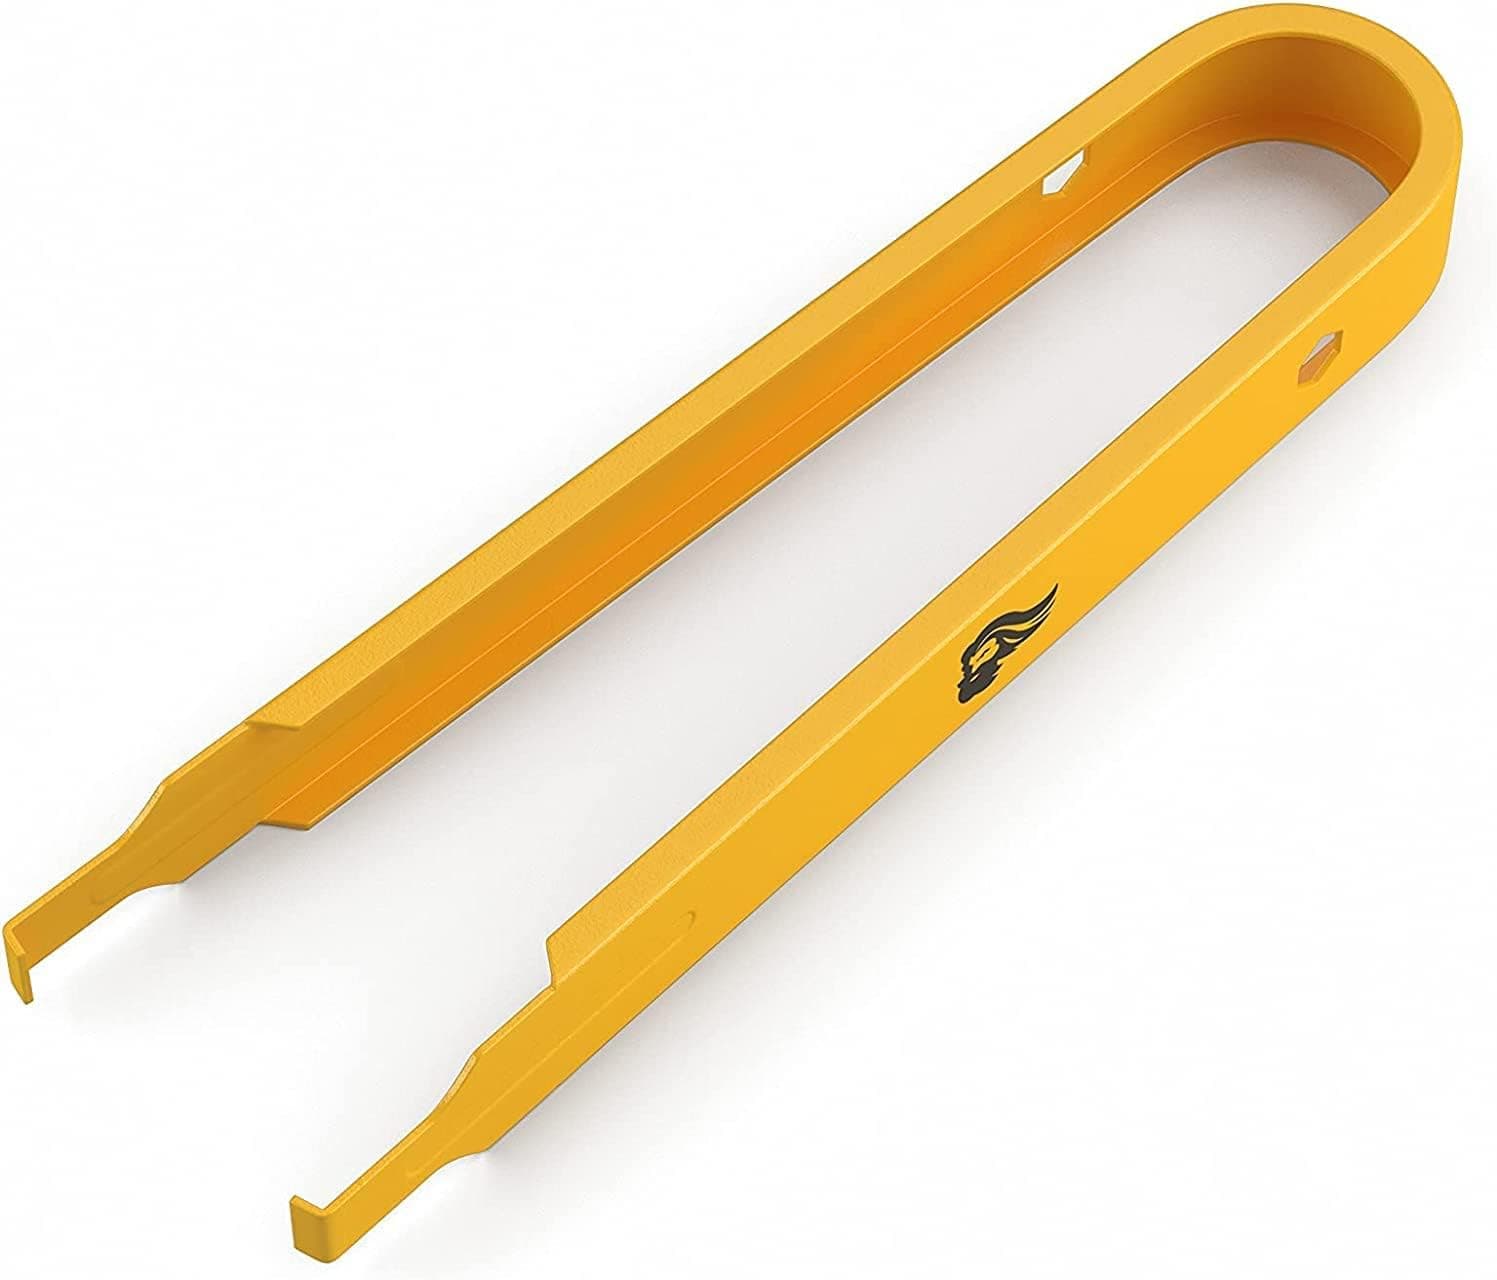
Hot-swappable keyboards make trying new switches easy, but it is common to finish a swap and find one or several keys that do not register. Usually the switch pins bent during insertion or the switch did not seat properly in the socket. Occasionally the hot-swap socket is damaged or the switches are not compatible with the board.
Check for bent pins
Remove the non-working switch with a switch puller and inspect its two metal pins. If one is bent, gently straighten it with tweezers or small pliers so it is vertical and aligned with the plastic housing.
Before reinstalling, line up the switch pins with the socket holes, then press straight down firmly. Bent pins often fold under the switch instead of entering the socket, so the key appears installed but never makes contact.
Seat switches fully
Switches should click into the plate evenly on all sides. A switch sitting slightly higher than neighbouring switches may not be fully inserted into the socket.
When inserting, support the PCB from below if the board design allows, especially on boards with flexible plates or gasket mounts. This prevents pushing sockets away from the PCB.
Confirm compatibility
Most hot-swap keyboards accept standard 3-pin and 5-pin MX-style switches, but some boards require specific switch types. Low-profile switches, Hall effect switches and optical switches are usually not interchangeable with standard MX switches.
Five-pin switches have extra plastic stabilising legs. If the PCB lacks holes for them, you can clip the legs carefully with flush cutters to fit a three-pin compatible board.
Test and inspect sockets
Use a keyboard tester to identify dead keys. With the keyboard plugged in, carefully bridge the two socket contacts with tweezers to see if the key registers without a switch installed.
If bridging does not register, the socket may be loose, cracked or detached from the PCB. Replacing a hot-swap socket requires soldering, or contacting the manufacturer if under warranty.
Avoid future problems
Always use a proper switch puller, grip switches by the clips and pull straight up. Wiggling or pulling at an angle can loosen sockets over time.
Swap switches with the keyboard unplugged, and straighten pins before insertion. Testing each row as you go is faster than troubleshooting a full board at the end.